How to adjust the light path of laser cutting machine? Many new customers in the purchase of laser cutting machine, for adjusting the optical path of this operation, do not have enough experience, although the manufacturer has relevant training, but the actual operation is still difficult, here, krrass compiled a tutorial about laser cutting machine optical path adjustment for your reference.
Why Need to Adjust the Light Path?
Laser cutting machine itself uses the flying optical system, in the long-term work, the optical path will have a little deviation, which will have a great impact on the cutting effect. Therefore, it is necessary to check and adjust the light path regularly.
Before adjusting the light path of the laser cutting machine, we need to have enough knowledge of the laser tube, reflector frame and focus lens of the laser cutting machine.
1. Reflector Frame A

As shown in the above diagram, they are: 1. Light target placing frame 2. Mirror 3. Spring locking screw 4. Adjusting screw 5. Adjusting nut 6. Locking screw A7. Locking screw B 8. Adjusting screw M1 9. Mirror locking plate 10. Adjusting screw m 11. Adjusting screw M2 12. Tension spring 13. Mirror mounting plate 14. Support plate 15. Base
2. Reflector Frame B
its mounting base plate is different from that of frame a, others are the same.

In the above diagram, 1. Install the base plate (it can be moved left and right). 2. Lock the screws.
3. Reflector Frame C

1. Mirror adjusting plate 2. Mirror 3. Locking screw 4. Adjusting screw M1 5. Mirror adjusting plate 6. Mirror pressing plate 7. Adjusting screw M 8. Locking screw 9. Adjusting screw M2
4. Focusing Lens

It includes: 1. Inner cylinder of focusing lens 2. Intake pipe 3. Limit screw 4. Transition sleeve of air nozzle 5. Air nozzle 6. Lens cylinder 7. Limit screw 8. Adjusting sleeve
How to Adjust Laser Cutting Machine Light Path
After knowing the name of each part, let’s formally introduce the method of adjusting the light path of laser cutting machine.
1. Adjustment of Four Beams
(1) For the adjustment of the first light, stick the masking paper on the dimming target hole of the mirror a, manually click the light (note that the power should not be too high at this time), fine tune the base of the mirror a and the bracket of the laser tube to make the light hit the center of the target hole, and pay attention to that the light cannot be blocked.
(2) For the second light adjustment, move the mirror B to the remote, use a piece of cardboard to emit light from near to far, and guide the light into the cross light target, because if the remote light is in the target, the near end must be in the target, and then adjust the near end and the remote light spot to be the same, that is, if the near end deviates, the remote light will also deviate, It means that the light path is parallel to the y-axis guide.
(3) Adjust the third light (Note: the cross splits the light spot left and right), move the mirror C to the remote, guide the light into the light target, shoot once at the entrance and the remote, adjust the position of the contrast cross to the position of the cross in the near light spot, then it indicates that the light beam is parallel to the x-axis. At this time, if the light path is inward or outward, the M1, M2 and M3 on the mirror frame B should be loosened or tightened until the left and right halves.
(4) For the adjustment of the fourth light, stick a piece of masking paper on the light outlet to make the light outlet leave a round mark on the adhesive tape. Click the light outlet, remove the adhesive tape to observe the position of the small hole, and adjust M1, M2 and M3 on the mirror frame C according to the situation until the light spot is round and positive.
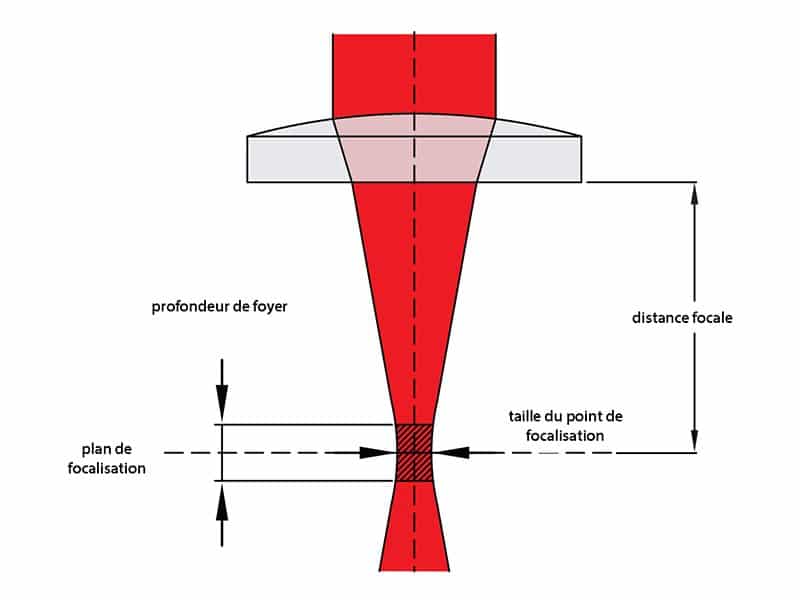
2. Measuring Method of Focal Length
With the focal length ruler provided by our laser cutting machine manufacturer, put the nozzle up and down on the number 5 of the focal length ruler. At this time, the light is the brightest and strongest, and then tighten the screw.
As shown in the figure below:

(1) If the cutting surface inclines to the left, the laser head is too low or the vertical light mirror is too high, if the icon inclines to the D plane, the light is too low,2 solutions:
1. Lower the vertical light mirror C and turn M1, M2 and M3 anticlockwise at the same time;
2. Raise the laser tube (clockwise)
(2) If the cutting surface inclines to the right, the laser head is too high or the vertical light mirror C is too low, if the icon inclines to plane B, the light is on the high side,2 solutions:
1. Raise the vertical light mirror C and turn M1, M2 and M3 clockwise at the same time;
2. Lower the laser tube (counter clockwise)
(3) If the cutting surface is inclined to the inside, and the laser enters the vertical light, the mirror is inclined to the outside or the mirror base B is inclined to the outside, if the icon is inclined to the a plane, the light path is inclined to the outside,2 solutions:
1. Adjust in the mirror base B,
2. Adjust M1, M2 and M3 on mirror B simultaneously (clockwise)
(4) If the cutting surface is out, and the laser enters the vertical light reflector or the B side of the reflector seat, if the icon is inclined to the C side, it means that the light path is in, 2 solutions:
1. Call out the mirror base B,
2. Call out M1, M2 and M3 on mirror B at the same time (counter clockwise).
About the adjustment of laser cutting machine light path method has been introduced, hope to help you, thank you for your reading.
